前言
有时候,我们需要多个站点来实现多个需求。一般情况我们都会在站点根目录(如apache/htdocs)下创建多个文件夹:
然而这种做法的隔离效果不太好, 在我们只有一台服务器一个IP的情况下,理想的做法是这样的:
修改配置文件
打开appache/conf/http.conf, 在最后面加上:
1
2
3
4
5
6
7
8
9
10
11
12
13
14
15
16
17
18
19
20
21
22
| NameVirtualHost *
<VirtualHost *:80>
ServerAdmin admin@xxx.com
DocumentRoot /usr/local/apache/htdocs/a
ServerName a.xxx.com
</VirtualHost>
NameVirtualHost *
<VirtualHost *:80>
ServerAdmin admin@xxx.com
DocumentRoot /usr/local/apache/htdocs/b
ServerName b.xxx.com
</VirtualHost>
NameVirtualHost *
<VirtualHost *:80>
ServerAdmin admin@xxx.com
DocumentRoot /usr/local/apache/htdocs/c
ServerName c.xxx.com
</VirtualHost>
|
保存重启appache即可。
拓展
在Apache与Tomcat的整合中,已经用Apache连接了Tomcat,下面就为Java站点和PHP站点分配不同域名。
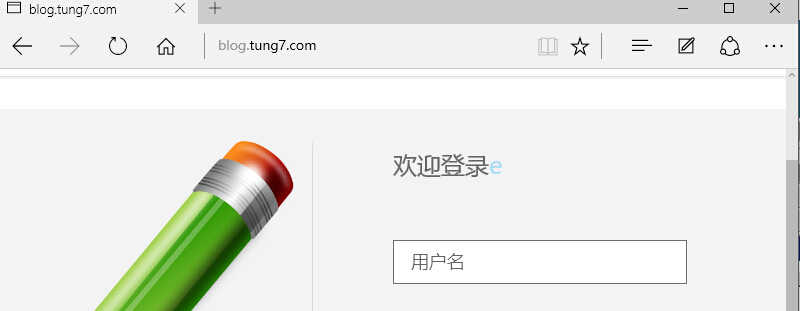
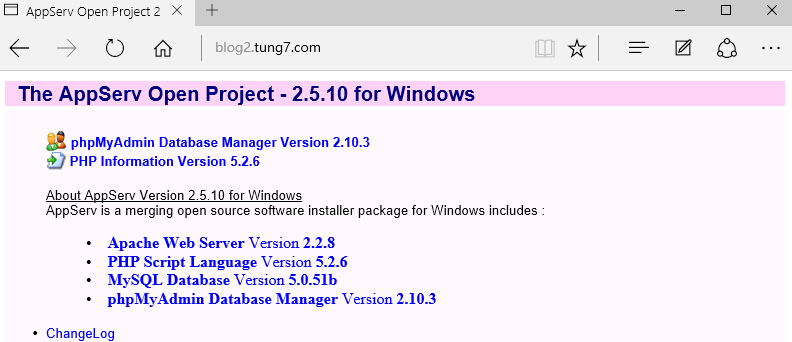
blog.tung7.com用于访问JAVA站点,而blog2.tung7.com用于访问PHP站点。
同样找到apache/conf/http.conf。在最后添加或修改(下面关于Log的配置自行修改):
1
2
3
4
5
6
7
8
9
10
11
12
13
14
15
16
17
18
19
20
21
22
23
24
25
26
27
28
29
30
31
32
33
34
| # 设置虚拟主机
# For Tomcat
NameVirtualHost blog.tung7.com:80
<VirtualHost blog.tung7.com:80>
#定义服务名称
ServerName blog.tung7.com
#定义站点项目所在路径。
DocumentRoot
DirectoryIndex login.jsp index.html index.htm
JkMount /* blog
JkUnMount /*.html blog
JkUnMount /*.htm blog
</VirtualHost>
<Directory "D:/Apache Software Foundation/Tomcat 7.0/webapps">
Options Indexes FollowSymLinks
AllowOverride None
Order allow,deny
Allow from all
</Directory>
# For PHP
NameVirtualHost blog2.tung7.com:80
<VirtualHost blog2.tung7.com:80>
ServerAdmin zhuyuandong@vip.qq.com
ServerName blog2.tung7.com
DocumentRoot "D:\AppServ\www"
DirectoryIndex index.html index.htm index.php
ErrorLog logs/blog2-error_log.txt
CustomLog logs/blog2-access_log.txt common
</VirtualHost>
|
保存重启Apache,即可。
访问blog.tung7.com:
访问blog2.tung7.com:
然而这里还有一个问题,就是我们如果直接使用IP访问结果会怎么样?
实际上,Apache有一个默认的VirtualHost用于IP访问,当httpconf中NameVirtualHost的时候,第一个声明的VirtualHost将用于IP访问。所以,现在如果直接使用IP访问的话,将会访问到JAVA站点。BUT, 我们一般都是禁止使用IP直接访问的,下面来实现禁止IP直接访问。
禁止IP直接访问
第一种方法
同样在http.conf中添加一个VirtualHost
1
2
3
4
5
6
7
8
9
10
11
|
NameVirtualHost 121.121.121.121:80
<VirtualHost 121.121.121.121:80>
ServerName 121.121.121.121
<Location />
Order allow,deny
Deny from all
</Location>
</VirtualHost>
|
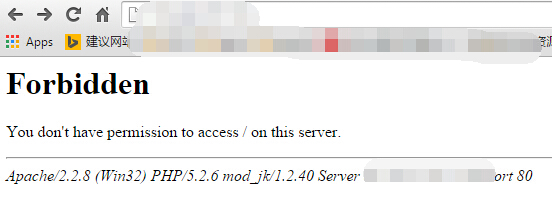
访问将返回403错误。
当然,我们可以很闷骚地自己设计错误页面。在<VirtualHost *:80>和加入以下代码:
1
2
3
4
| ErrorDocument 500 /500.html
ErrorDocument 404 /404.html
ErrorDocument 403 /403.html
|
第二种方法
第一种方法只是返回403,并没有确切告诉访问者禁止IP访问。
1
2
3
4
5
6
7
8
|
NameVirtualHost 121.121.121.121:80
<VirtualHost 121.121.121.121:80>
ServerName 121.121.121.121
DocumentRoot "c:\AppServ\www\nosite"
DirectoryIndex index.html
</VirtualHost>
|
相当于为该IP新建一个站点nosite,然后在里面新建一个设计好的index.html
1
2
3
4
5
6
7
8
9
| <!DOCTYPE html>
<html>
<head>
<meta http-equiv="Content-Type" content="text/html; charset=UTF-8"/>
<title>Forbidden View By IP</title>
</head>
<body>Your Nice Design</body>
</html>
|
然后直接访问IP就会访问到nosite站点下的index.html了。